So, this week I created a Github account for Benedetti Tech. For those of you that are not familiar, Github is a web based repository for open source projects with tools for source control, issue tracking and collaboration with other open source developers. It’s become popular enough that you might count on potential employers to look for any accounts associated with your name in order to evaluate you for work, whether you invite them to or not. This isn’t to say that you MUST have an account to be taken seriously for employment, only that it’s another option and opportunity to grow and showcase your skills with others in the industry. Full disclosure: I barely use my personal Github account and yet have somehow managed to remain gainfully employed.
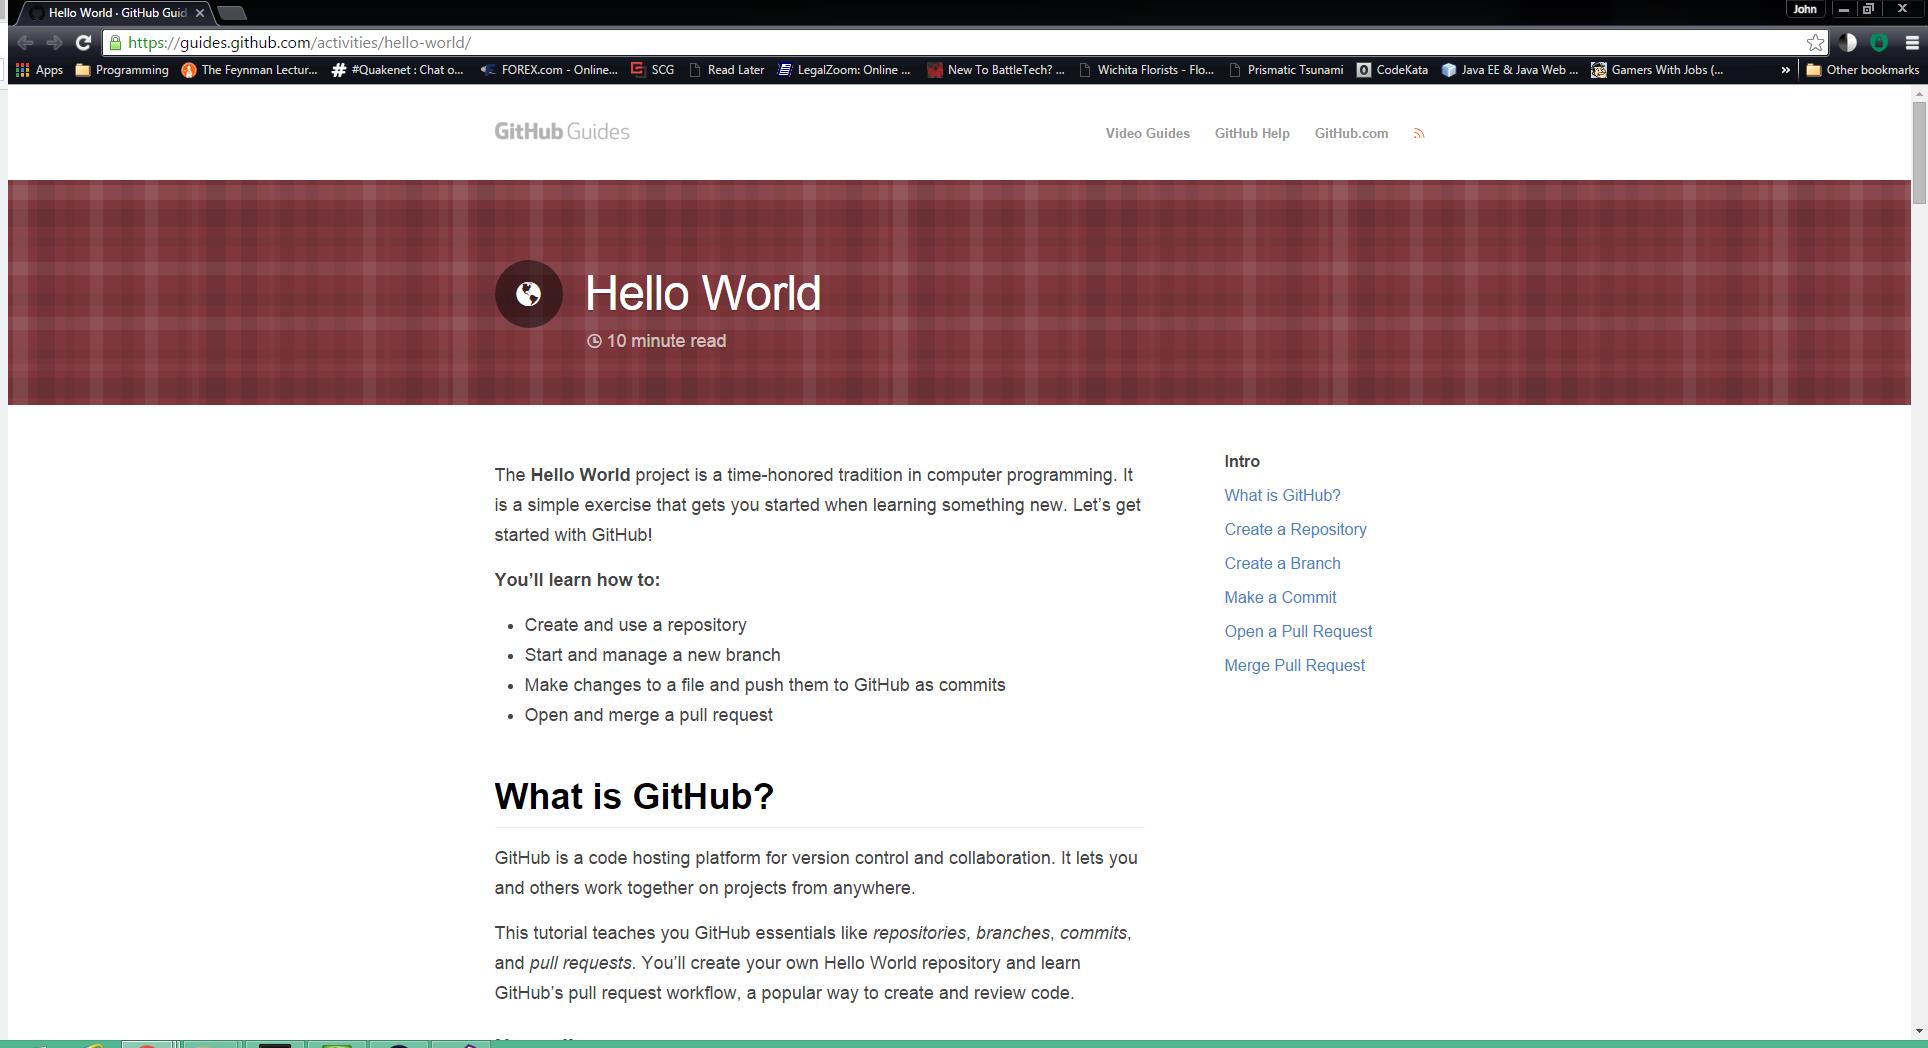
As part of creating a new Github account, there’s an invitation to a simple ‘Hello World’ walkthrough located at https://guides.github.com/activities/hello-world/ This article will focus on a walkthrough of that guide.
Step 1 is to create a new repository using your Github account. Although reasonable people may differ as to what a repository should equate to, I use the term ‘single codebase’ to refer to a single repository. A codebase can consist of multiple apps, integrations or services. The idea here is to have a single logical grouping of code (and hopefully tests and documentation) with which to associate with a history of issues/stories and commit history. This can help users or inheritors of your code to gain insight into the history of an application that might prove helpful when trying to understand the intent of said codebase.
It’s a pretty simple step, from the Github console, click the + then New Repository link.

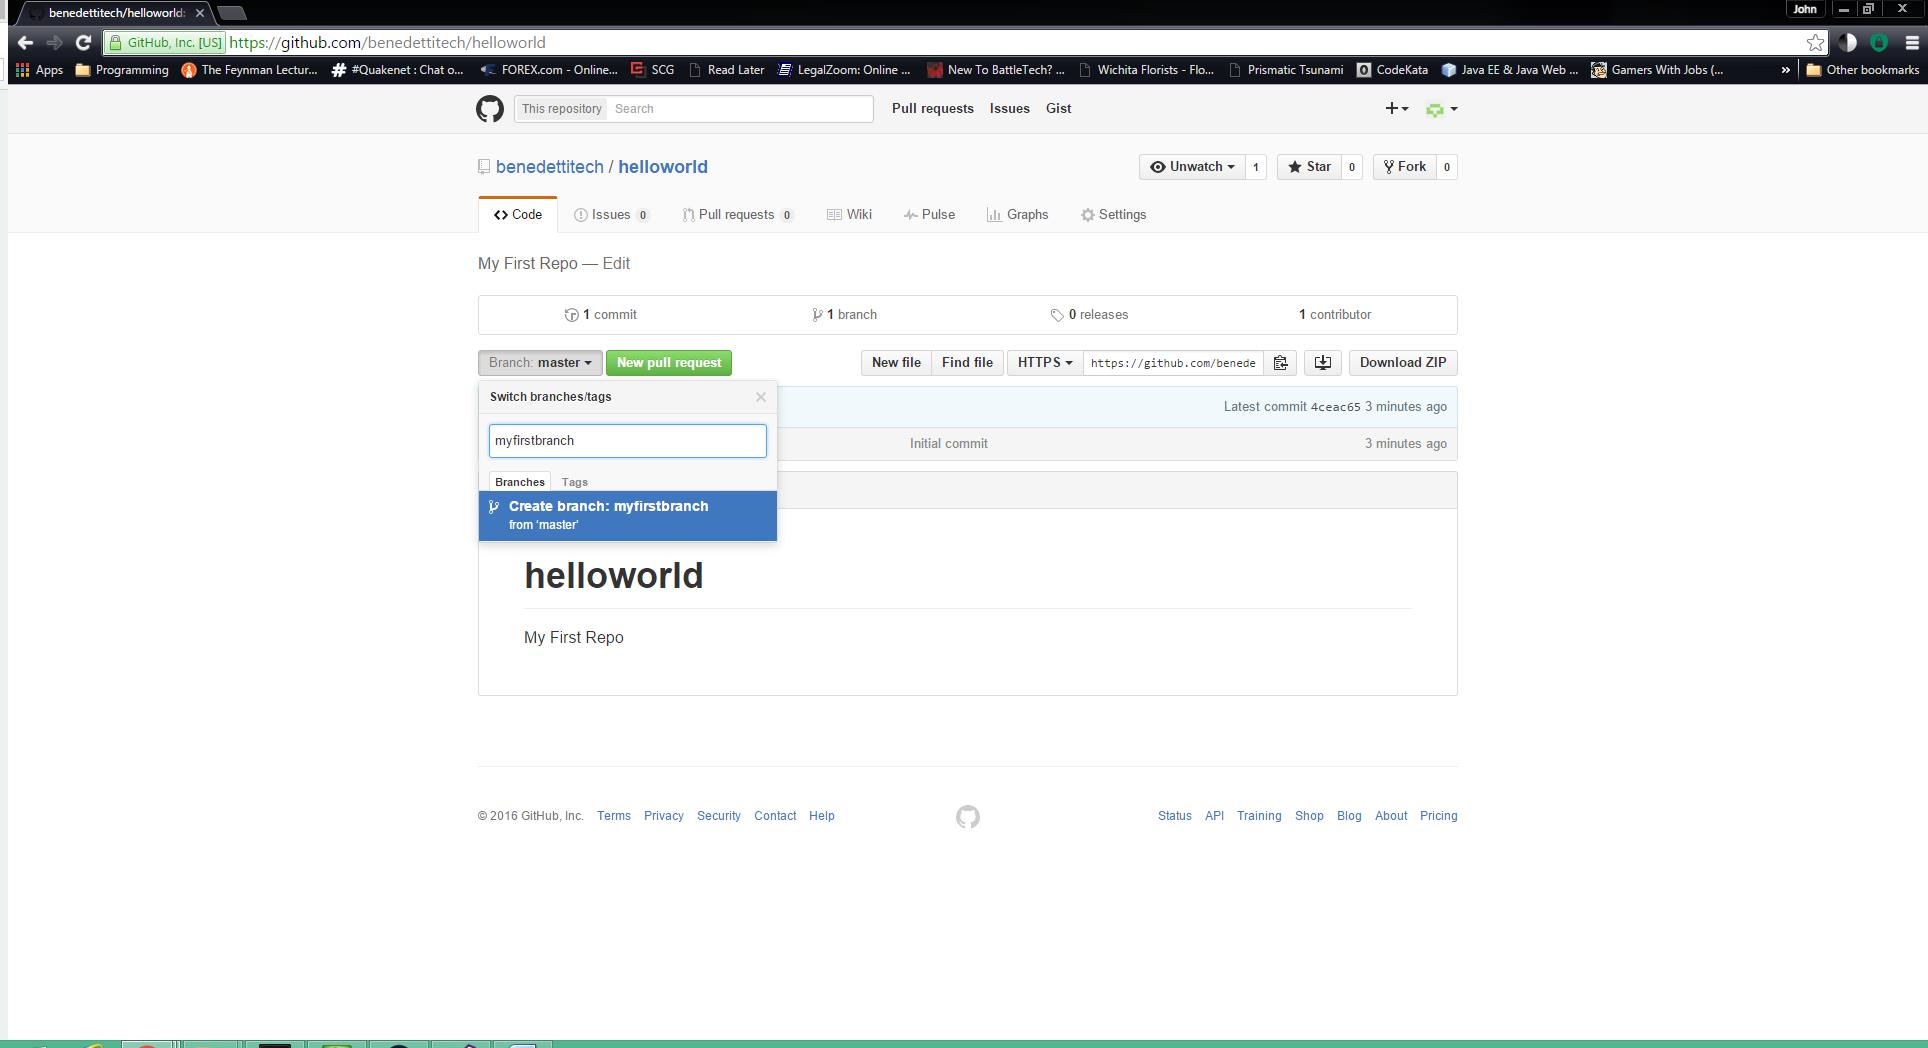
Now that we have our newly minted repository, the next step is to create a branch. Usually you’ll have a master or main line codebase that should be a representation of what’s in production. Branches represent code in development may eventually make it into the production code. Each branch will have its own history of commits and the capability to annotate them or roll them back as needed.
To create a branch, click on the branch dropdown. A dialog will appear where you can type in a new branch name and then you can click Create. Once you’ve created the branch, the console will automatically switch to your new branch as your current branch.
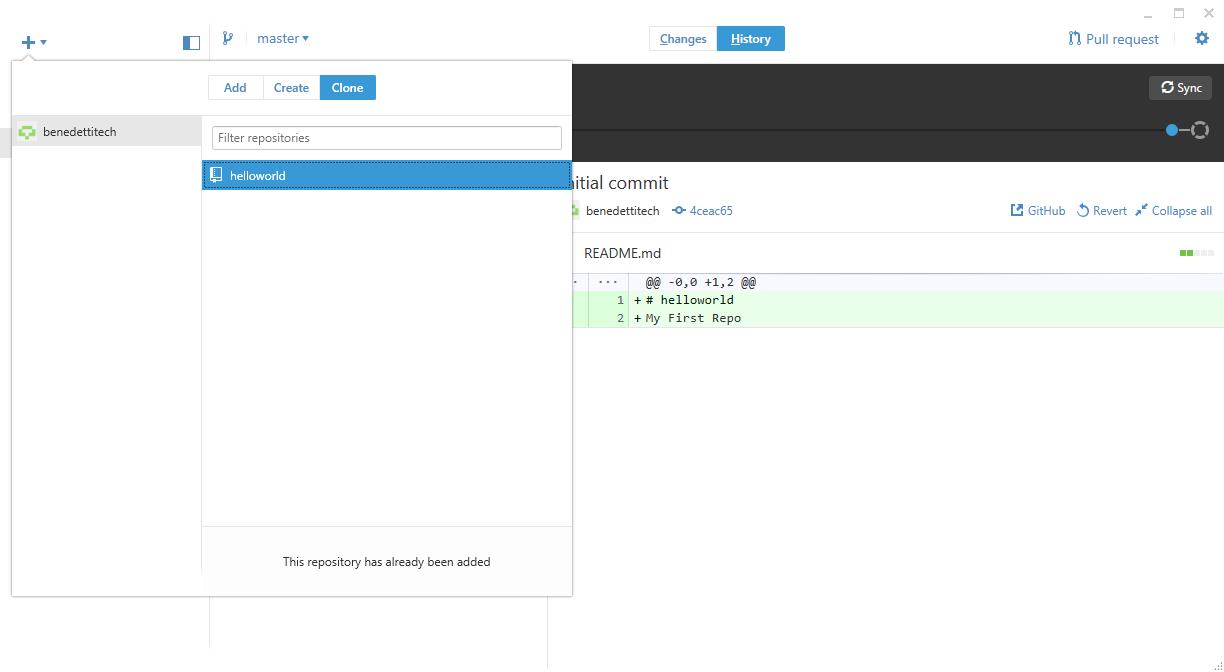
Now that you have your new branch, it’s time to make some changes and commit them. The way the Github orientation suggests doing this is by editing the Readme file via the console. I’m going to take this outside the box a little bit and install Github Desktop. This is a GUI console you can keep on your desktop with which to manage local copies of your repositories (that you will eventually be developing on locally). The link to download is https://desktop.github.com/ and the app is available for Windows or Mac. I’ll be installing the Windows version.

After I’ve installed Github Desktop, I can clone the repository I’ve just created by clicking the + sign and Clone.
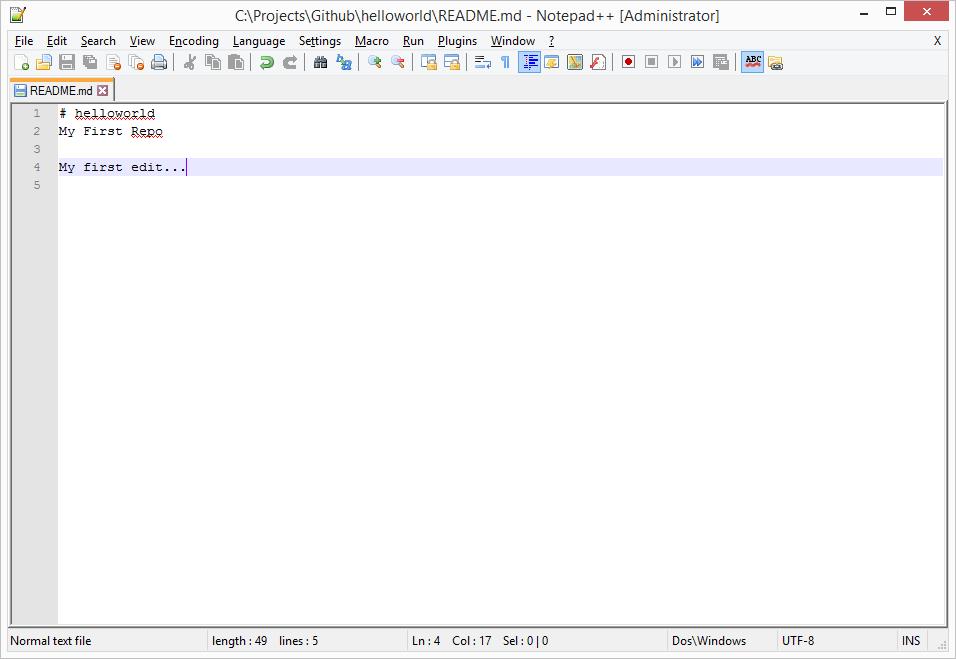
First, I’ll select a directory where the local clone will reside. Then, I’ll open the Readme.md file and make some changes as the walkthrough suggests.
After saving my changes, I’ll go back to Github Desktop and see if it’s detected my changes. And it has! Now I’ll add a Summary to the changes (Always try to make these detailed!) and then commit the changes to the branch.

The next step in the walkthrough is to create a Pull Request to merge the branch back into the master. You’ll have to excuse the additional merge commit as I initially made my changes to the Readme in the master instead of the branch. Let this be a lesson to always ensure you’re working in the correct branch!
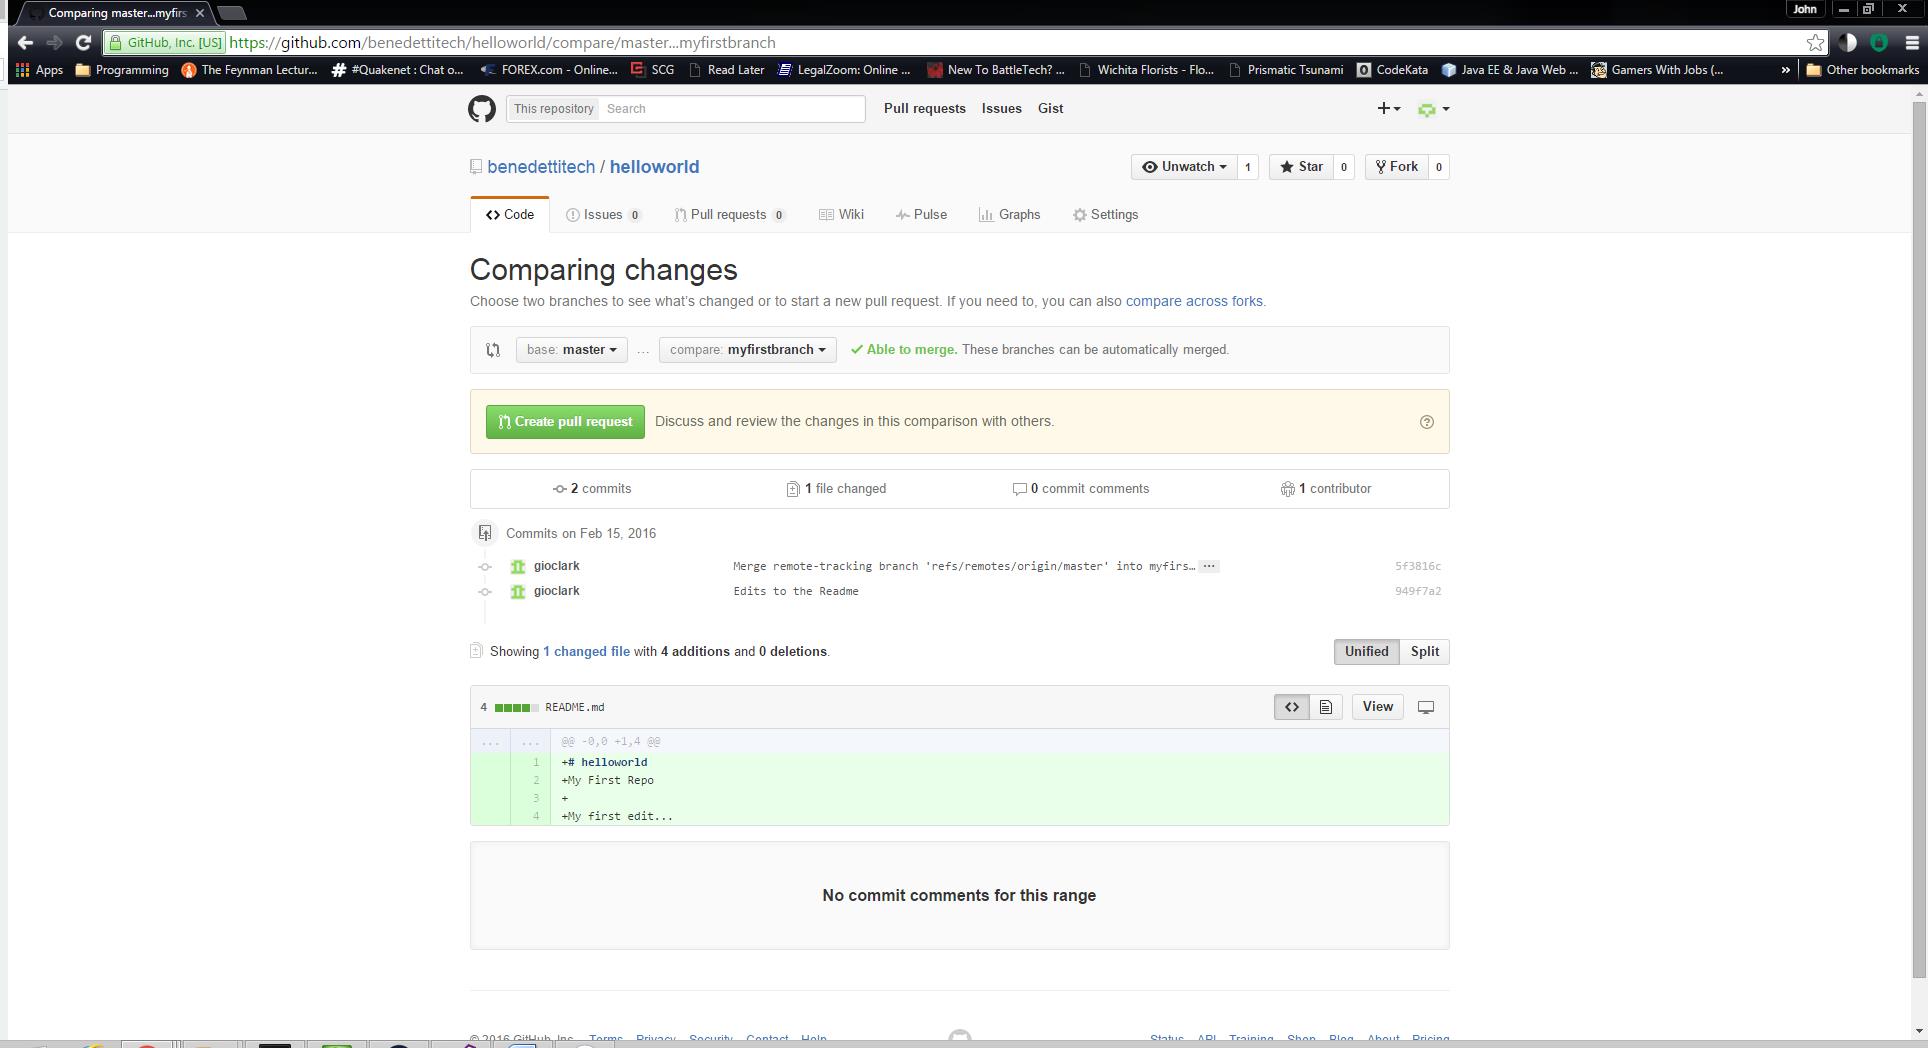
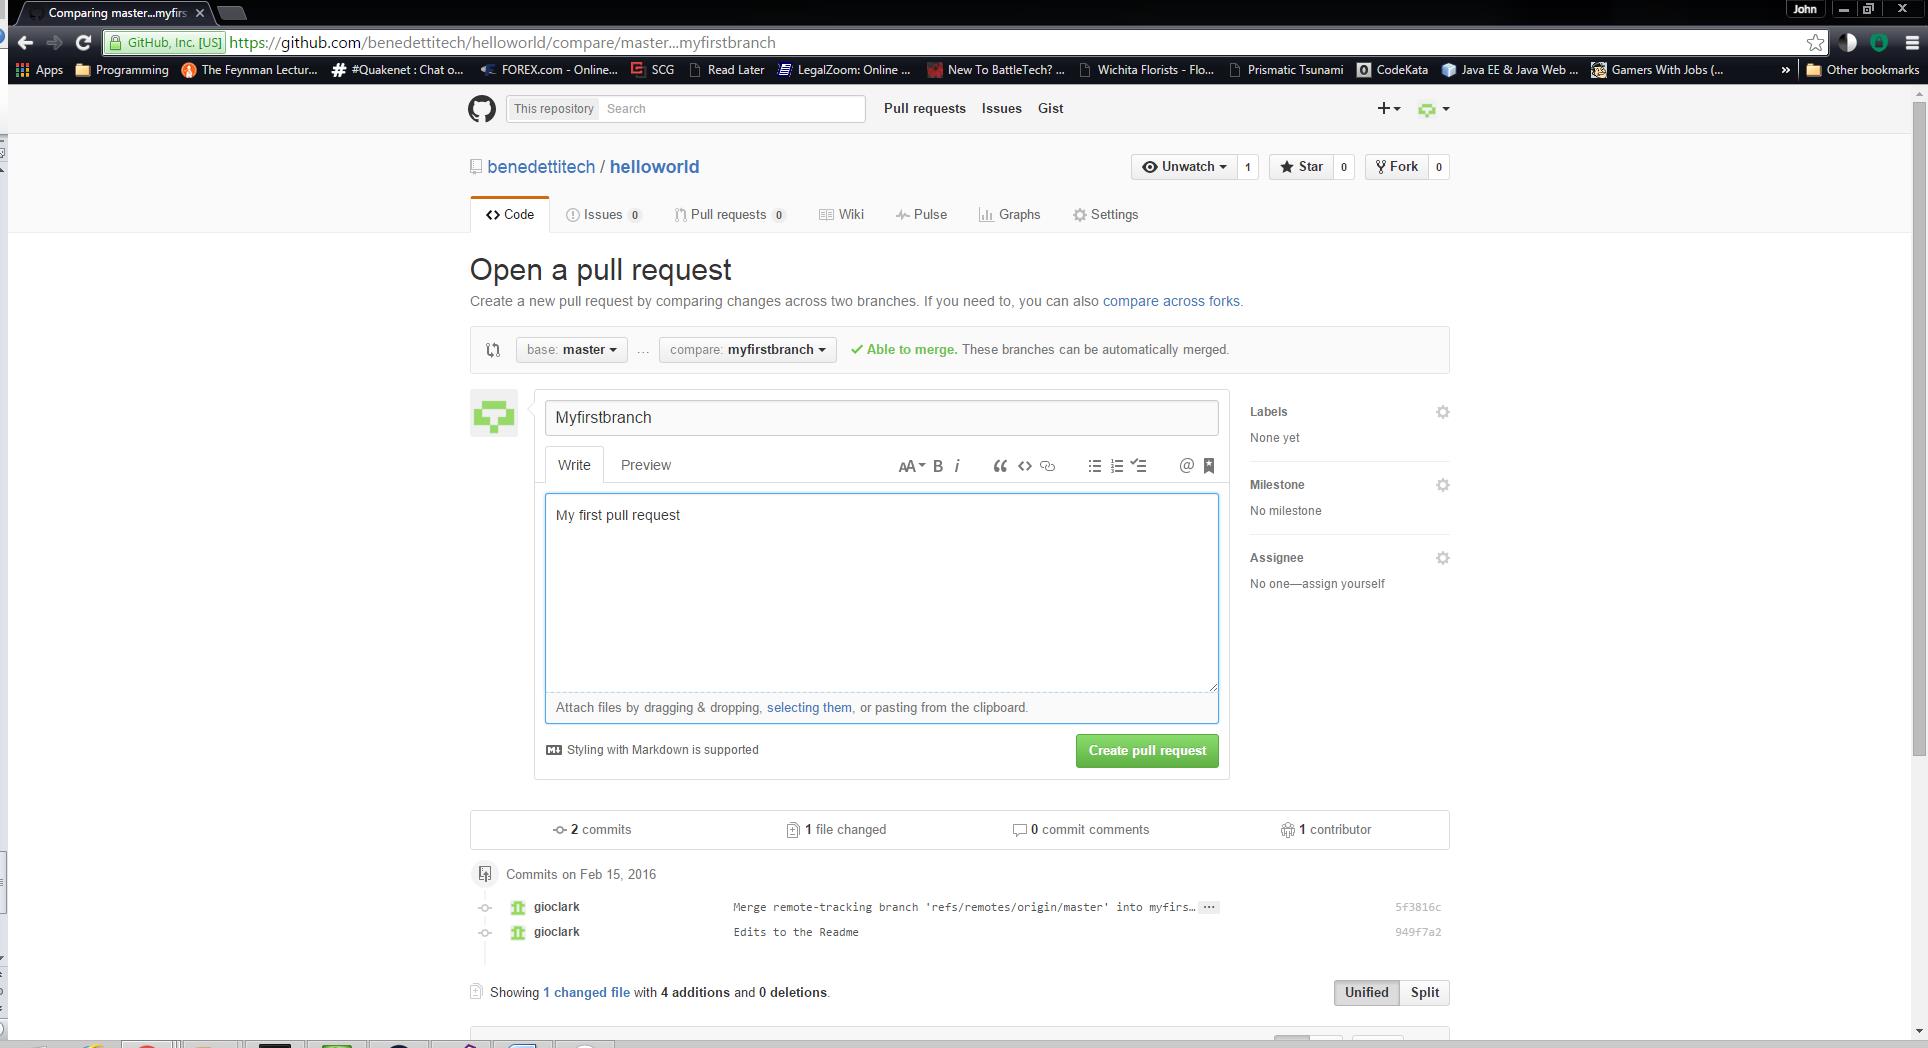
After I’ve reviewed the commits, I’m ready to create the Pull Request itself. Give it a title and some decent notes and then click the Create Pull Request button.
Now that I’ve created the Pull Request, the request will need to be reviewed and either merged to master, or possibly denied and returned with comment. Ideally, this should be done by someone who is reviewing the code and evaluating its possible benefit or impact to the codebase. Think of it as an in-line code review. Either way, this process is at the heart of collaboration around these projects whether working with a team at the same business or hacking in your own free time.
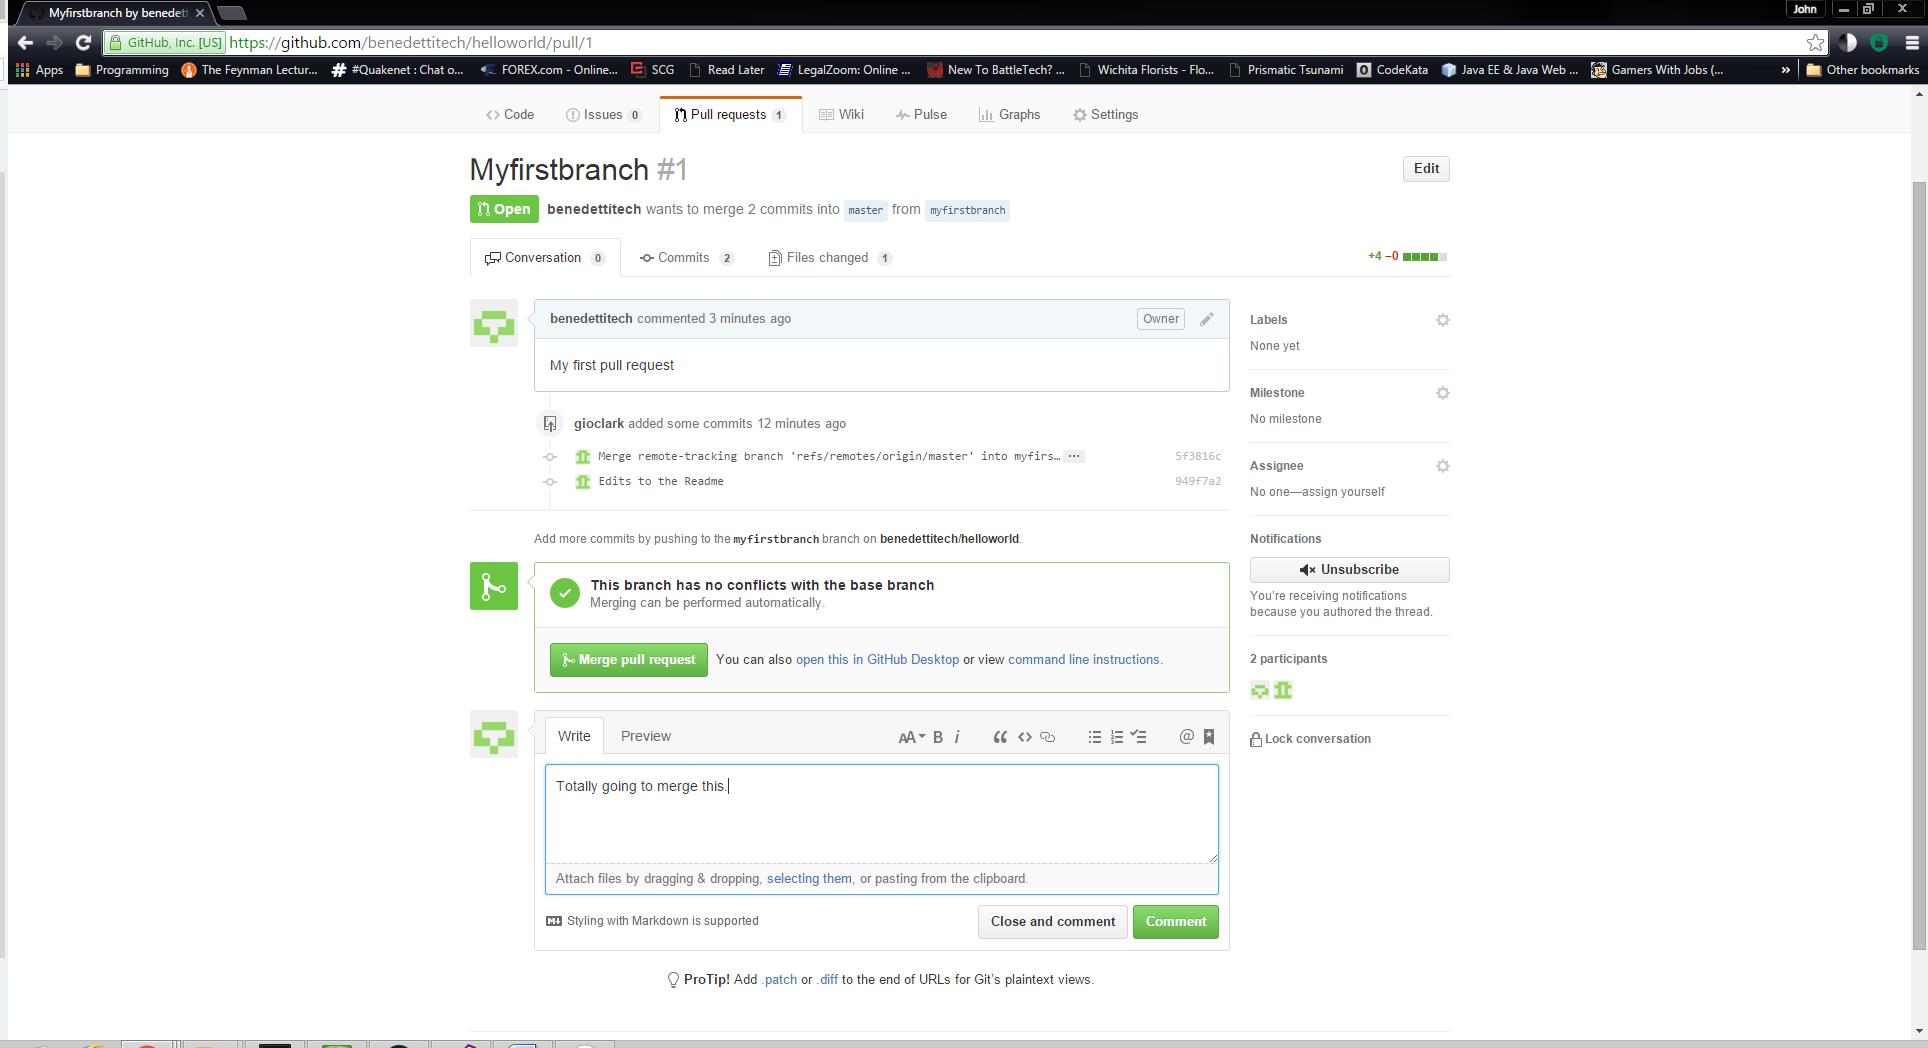
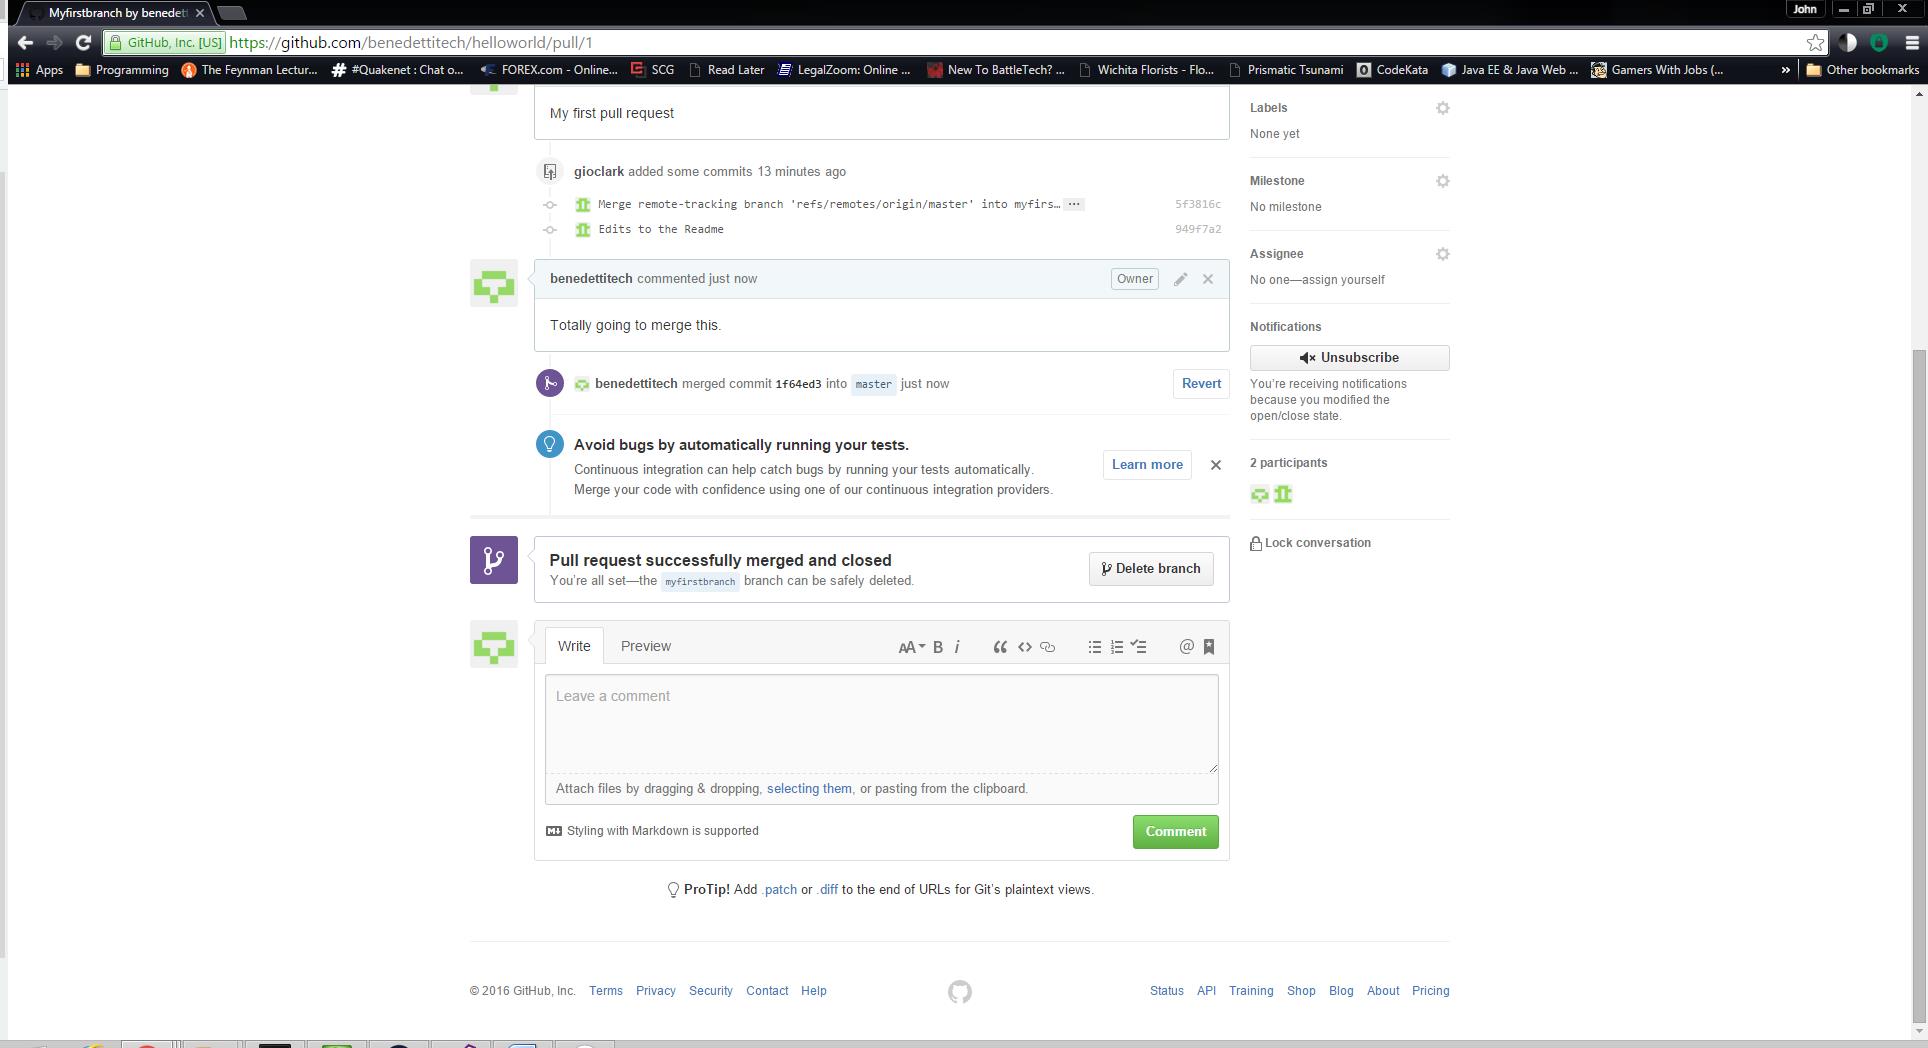
Once it’s been reviewed, I’ll comment and click Merge Pull Request. If there are no conflicts, you should get a confirmation message. That’s it! I’ve created my first repo and walked through the basic steps of branching, committing and merging.
I’m interested in hearing about your opinions and experiences with Github and I would invite you to follow my account there. Additionally, I’d be happy to hear about what you’re working on and see if there are any opportunities for collaboration or even just sharing knowledge. Please do feel free to follow Benedetti Tech on Github and invite me to do the same!
If any of you have suggestions around Github or have any other questions or comments, please feel free to add them here or address them to john@benedettitech.com.
Thanks for looking in!